Did you enjoy Roses? Yeah? Cool! No? Don't like roses? I feel you, so now let's give TULIPS a whack! These are probably the easiest...what am I saying they're all pretty easy. Many of the steps from Roses are similar to the steps for other flowers so if you find you're having trouble refer back to our part one post!


Set Up:

- Glue Gun & Glue Sticks
- Scissors
- Felt Sheets (1 Pink, 1 green)
- Pink Construction Paper
- Sticks
- Flower Tape
- Time: Most of one episode of Four Weddings (I am admittedly a TLC addict)
Step One: Cut rectangles of Pink!


Take your felt and your construction paper and cut rectangles that are approximately 2" x 7.5". You'll need 2 rectangles of felt and 1 rectangle of construction paper.
Step Two: Make some interior petals!
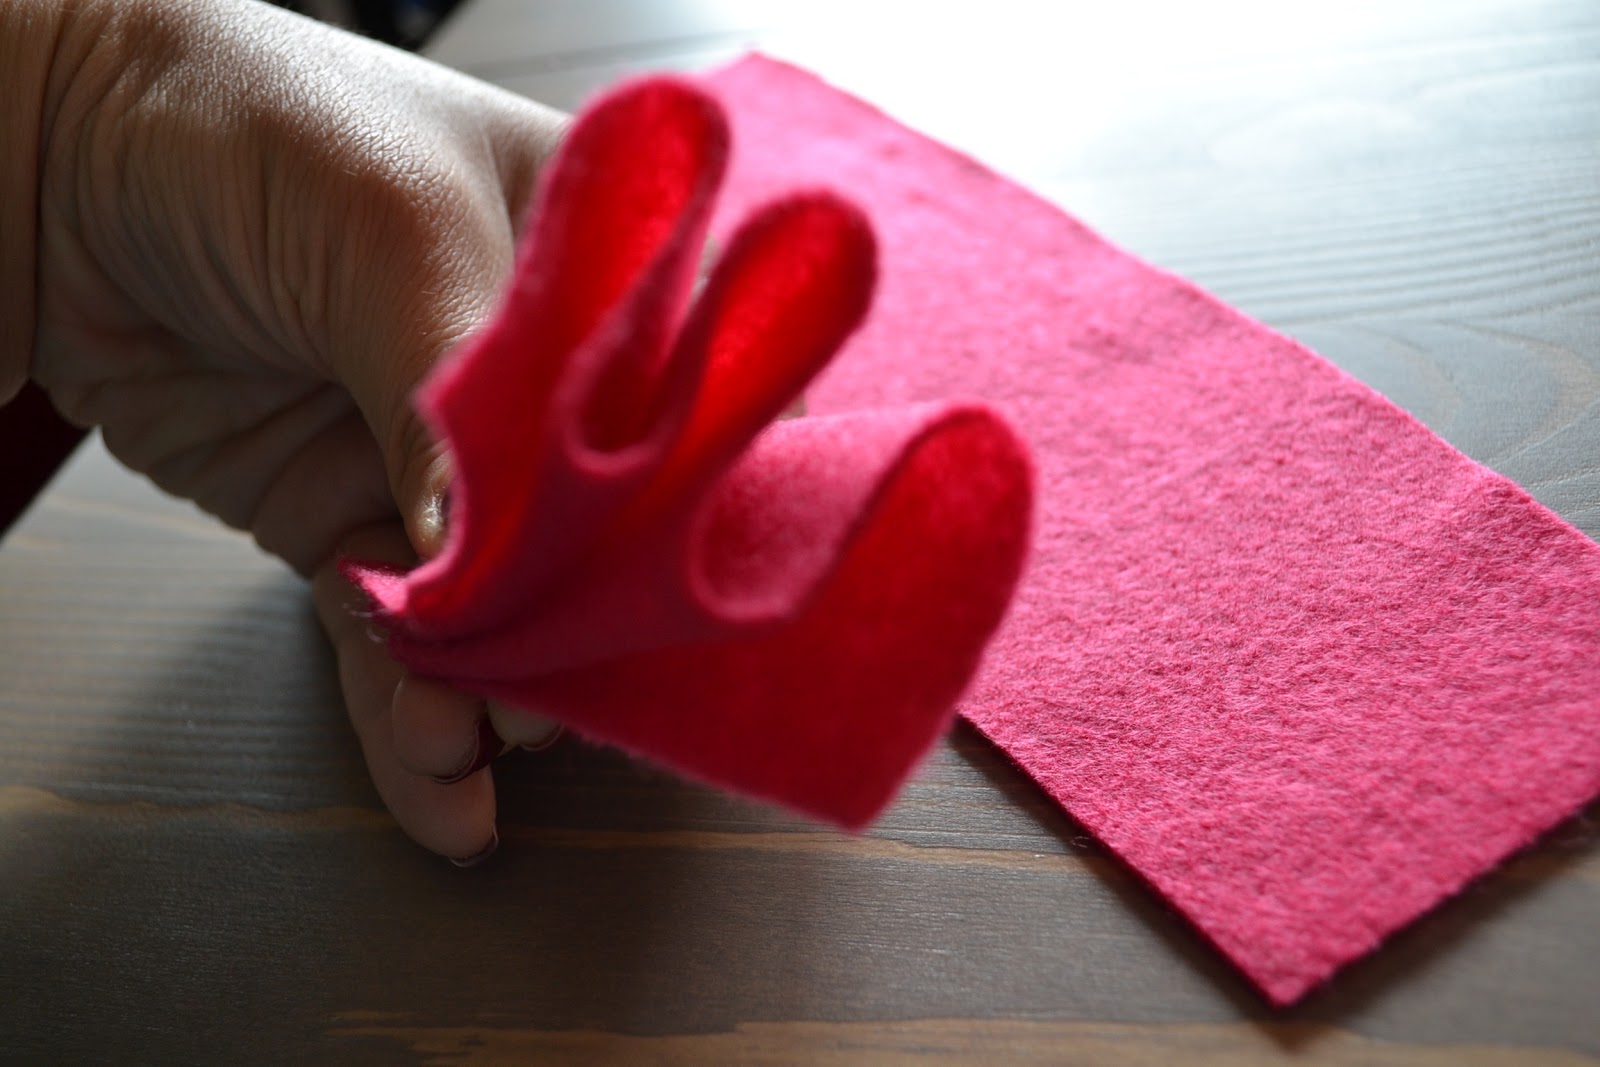

Take one rectangle of pink felt and fold it like an accordion. Cut rounded petals at the top, you'll need the interior layer to be connected so make sure not to cut them all the way to the bottom. Tip: Sometimes cutting the shape directly on the accordion can be tough, cut at least each side just a bit and unfold the accordion so you can do the detailed petals.
Step Three: Make the exterior Petals!

Use your other rectangle of pink felt to create 6 smaller rectangles. From those rectangles create your petals. Tulip petals are elongated and rounded and flat on the bottom. Tip: remember how much I love symmetry? Yeah this works for that too!
Step Four: Make the interior structure!
Take the rectangle of construction paper and cut frayed slits into the paper. Make sure the slits do not go all the way down to the bottom of the paper, leaving just under a centimeter.

Take one end of the construction paper and glue the bottom part with a line of glue to your stick. Start to wrap the paper around the stick gluing as you go. Tip: This piece is internal so don't worry about the glue looking weird if it's connecting to your stick. and the rest of the roll.


Step Five: Create your leaves!

Cut two thin strips of your green. Fold them in half and cut a half rounded shape.
Step Six: Assembly of the felt pieces!


Take the connected felt petals and glue one petal wrapped around your center structure. Roll around the other petals and glue as you go. Make sure that petals are spaced properly, remember back in the day when your elementary school gym teacher said find a hole and stand behind it? Similarly to that.


Take the petals and glue a V shape on one side of the bottom. Pinch the bottom of the petal around the stick and upward towards your center petals. Repeat this step for each petal.

Take your leaves and put a small strip of glue on the bottom. Pinch the strip and the felt to the stick, repeat this for the other leaf.
Step Seven: Wrap it up!
Take your floral tape and cut a strip of about 3 inches. Use a small drip of glue on the base of the tulip, attach one end of the floral tape to that drip. Start wrapping the floral tape tightly around the base and down towards the stick. Tip: Floral tape is waxy, embrace it and use your fingers to pressure the tape onto the stick. You can always wash your hands after!

Repeat this step for the base of the leaves.

Step Eight: You're Done!


You're finished now! you have a beautiful Tulip! Repeat all these steps and make another one and another one and another one!! Spray them with something that smells good so you can stop and take a whiff!
No comments:
Post a Comment